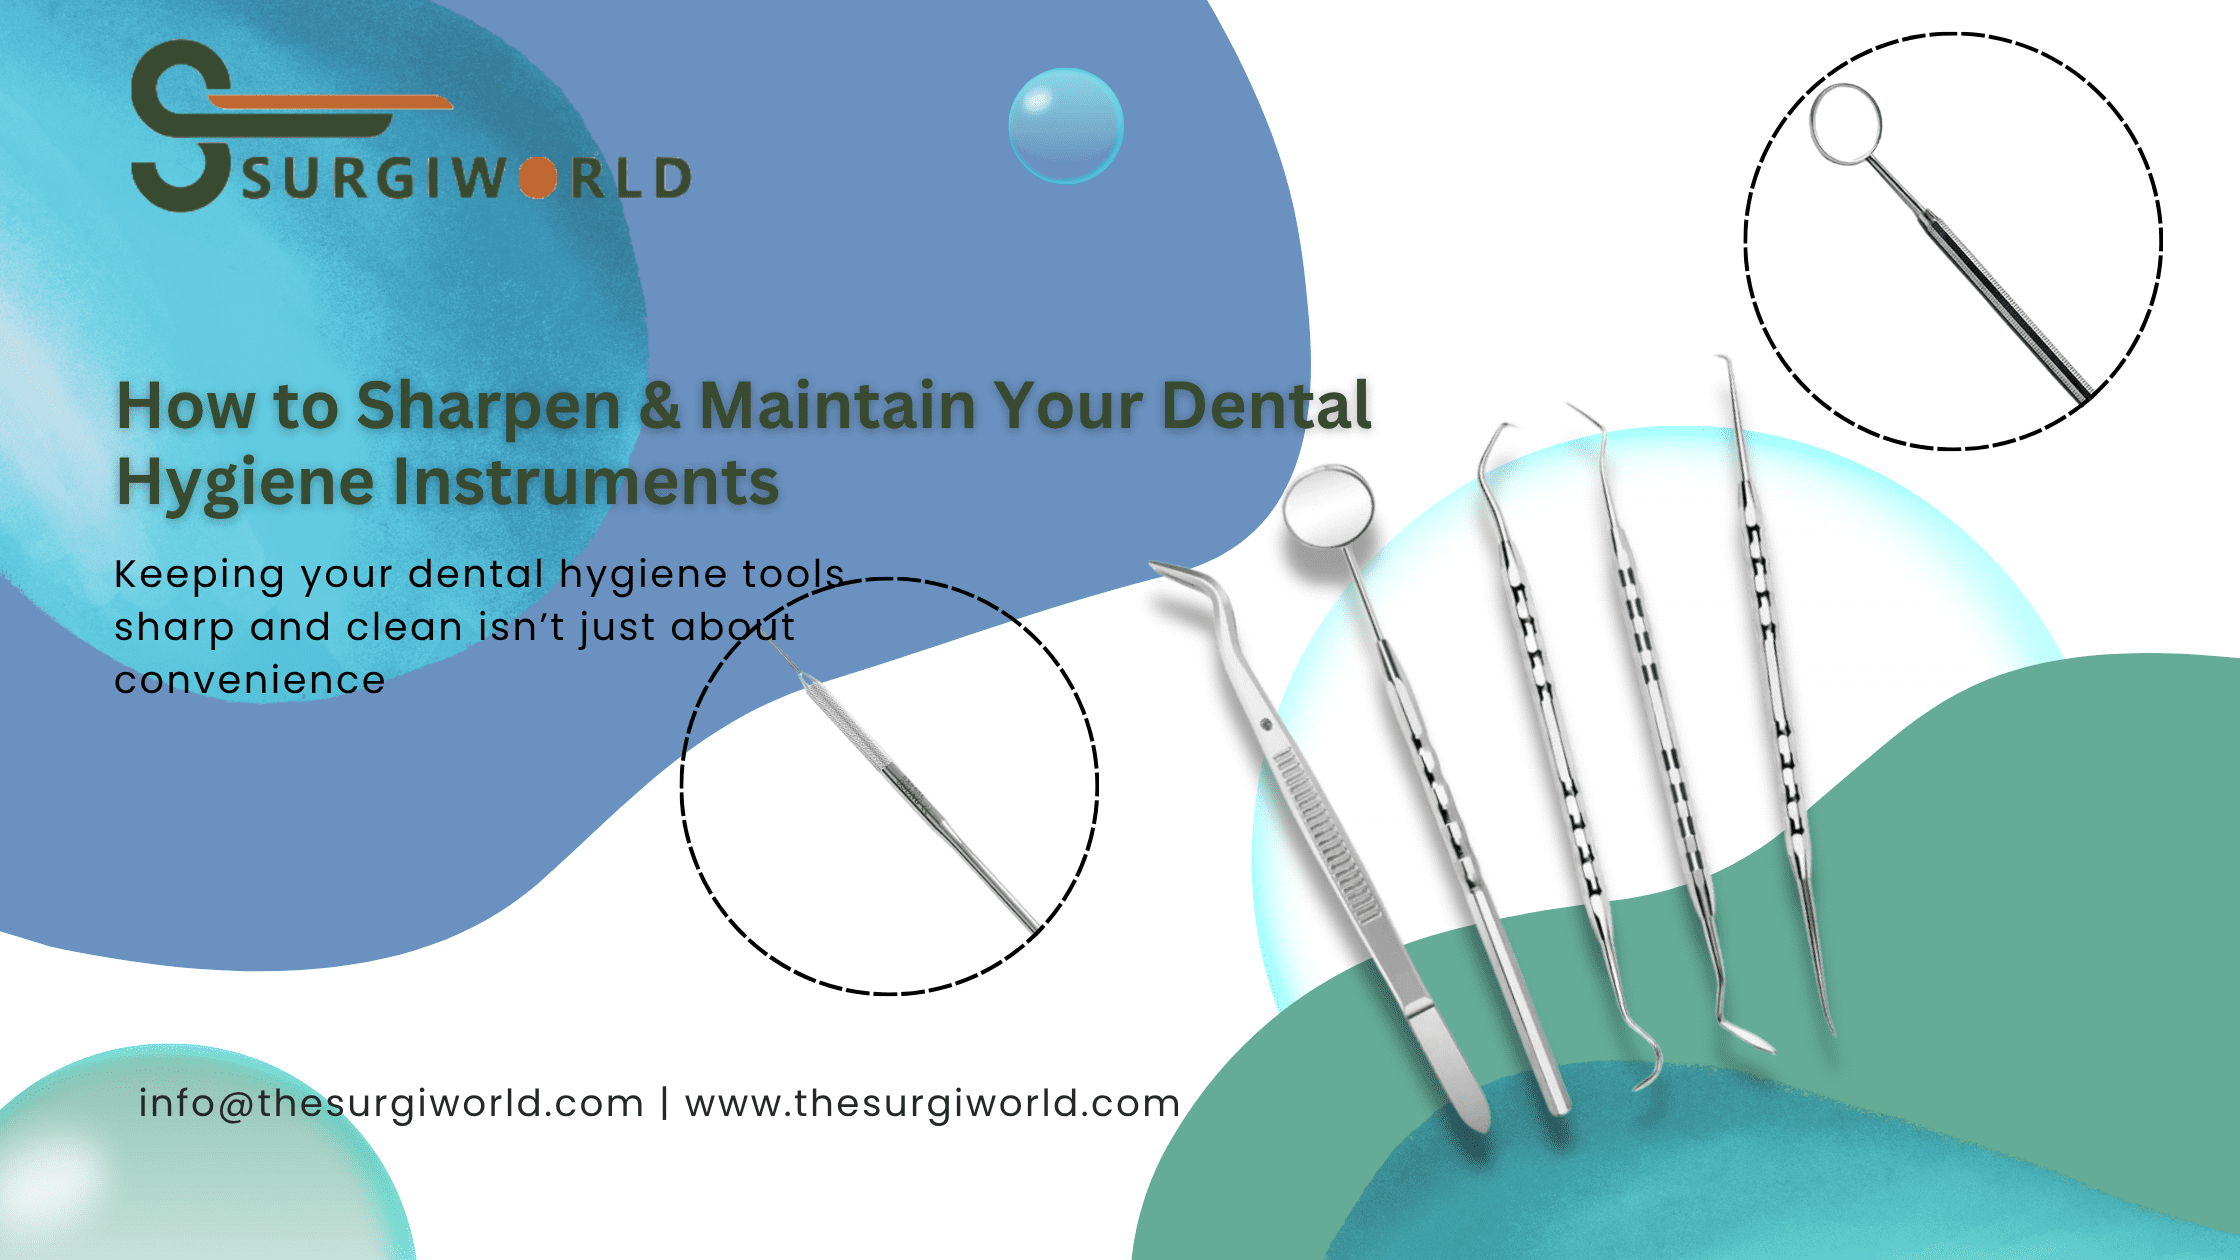
Keeping your dental hygiene tools sharp and clean isn’t just about convenience, it’s about safety, precision, and trust. When instruments like scalers, curettes, or explorers dull over time, they lose effectiveness and can hurt soft tissues or cause fatigue.
Regular sharpening and maintenance ensure your instruments stay reliable—reducing patient discomfort and keeping your workflow smooth.
Why Sharpening Matters
Sharp tools remove deposits more cleanly with less pressure. That means less scraping or pulling on a patient’s gum. Dull instruments force users to apply more force, which may cause unnecessary tissue trauma or slower procedures. When tools stay sharp, they protect both your hands and your patients.
How to Sharpen Your Dental Hygiene Instruments
1. Select the Right Sharpening Stone or Disc
Use a high-quality sharpening stone (like Arkansas or ceramic) or a rotary disc designed for dental instruments. These match the instrument’s angle and keep the edge precise.
2. Follow the Correct Angle
Position the instrument flat on the stone so the bevel matches the original angle typically between 60°–80°. Hold it steady and move it back and forth gently 5–7 times.
3. Test Sharpness Safely
Gently swipe the instrument tip across a piece of plastic straw or foil. A sharp edge will slice cleanly without pressing hard.
4. Repeat Regularly
Sharpen daily or weekly depending on use, but definitely before it becomes too dull. Keeping a schedule helps you stay consistent and spot dull edges early.
Maintenance Tips—Keeping Tools in Top Shape
- Clean right after use: Use warm water or ultrasonic cleaner to remove built-up debris, especially between serrations.
- Dry thoroughly: Never store moist instruments—they can rust, even stainless steel.
- Passivation: Every few months, chemically treat your tools to rebuild surface protection and reduce corrosion.
Regular Inspection: Look for bent tips, chipped edges, or loose hinges. Replace or repair any damaged tools promptly.
Sharpening Techniques: Step-by-Step
Sharpening isn’t complicated but doing it wrong can ruin a good instrument. If you’re new, watching a short demonstration video can help. Look for tutorials that show real dental scalers, proper hand positioning, and safe testing.
Step-by-Step Sharpening (Simple Version)
- Stabilize the stone – Place a non-slip mat under your sharpening stone or disc.
- Hold the instrument right – Grip it in your dominant hand like a pen; rest your elbow on the table.
- Find the right bevel – Most scalers have a 70° angle; tilt accordingly.
- Sharpen in one direction – Use smooth strokes toward or across the blade, not back and forth.
Rinse and inspect – Clean with water and inspect under good light or with a magnifier.
Ergonomic Benefits of Regular Sharpening
A sharp scaler glides more easily, which means less hand strain and lower risk of carpal tunnel or repetitive stress injuries for hygienists. You also reduce the time needed per patient.
When tools are sharp, you’re not forcing or digging. You work smarter, not harder.
Tool Maintenance: What Else You Should Be Doing
Beyond sharpening, your tools need daily care to last longer:
- Always dry before storing – Moisture causes rust, even on high-grade stainless steel.
- Check for dull tips or misalignment – Even a slightly bent scaler reduces effectiveness.
- Use protective cassettes during autoclaving – These prevent metal-on-metal damage.
Avoid harsh chemical dips – Use only approved passivation solutions and avoid bleach or acidic cleaners.
Cost of Sharpening Tools vs. Replacing Dull Instruments
Many professionals wonder, “Is it cheaper to just buy new tools?” Not really. High-quality hygiene instruments are built to last — but only if maintained properly. Sharpening kits cost far less than replacing even a single scaler.
- A good sharpening kit costs under $50 and lasts for years.
- Replacing a premium scaler? Often $30–$70 each.
Over time, sharpening not only saves money, but preserves the design and precision of your most-used tools.
How Long Do Dental Instruments Last?
With proper care, stainless steel hygiene instruments can last 5 to 10 years — or more. But that depends on:
- Material quality (e.g., CE-certified stainless steel)
- Frequency of use and sharpening
- Storage and sterilization process
- Visual and tactile inspections
If the tip looks worn, the alignment feels off, or the grip gets loose, it’s time to replace. Even top brands lose their edge over time.
Explore: TheSurgiWorld’s Dental Hygiene Tools
What to Look for in Quality Sharpening Tools
When buying a sharpening kit, avoid cheap knockoffs. Look for:
- Non-slip base or stand
- Clear angle guide or markings
- Multiple grain types (fine, medium, coarse)
- Stones that match your scaler shapes (curved vs. straight)
Also, make sure your sharpening accessories are autoclavable or safe to disinfect — hygiene matters, even in maintenance.
Why TheSurgiWorld Tools Stay Sharper Longer
TheSurgiWorld offers premium hygiene kits made with CE-certified, autoclavable stainless steel — built for repeated sharpening without losing shape or strength.
- Scalers with hardened tips
- Handles with non-slip ergonomic grips
- Tools precision-milled to retain original bevel even after dozens of sharpening’s
Explore: TheSurgiWorld Hygiene Tools→
That means better control, less trauma, and long-term savings for dental clinics.
Frequently Asked Questions
Q: How often should dental hygiene instruments be replaced?
A: Replace instruments when tips are worn, edges are dull, or alignment is off — typically every 5–10 years with proper care.
Q: How to sharpen dental hygiene instruments at home?
A: Use a sharpening stone or rotary disc. Match the bevel angle, apply light pressure, and test sharpness before each use.
Q: How long do dental hygiene instruments last?
A: With proper maintenance, they can last 5–10 years or longer. Regular sharpening and safe storage are key.
Q: What is passivation in dental tools?
A: Passivation is a chemical process that protects stainless steel from rust by restoring its oxide layer.
Q: How often should you sharpen dental hygiene instruments?
A: Sharpen your tools at least weekly or before they feel dull. A sharp instrument helps remove deposits cleanly and reduces pressure on tissues.
Q: How to test if a dental instrument is sharp?
A: You can safely test sharpness by gently swiping the tip across a plastic straw or thin foil—if it cuts cleanly, it’s still sharp.
Q: What tools are needed to sharpen a dental scaler?
A: Use a quality Arkansas or ceramic sharpening stone, or a dental rotary disc made for hygiene instruments.Q: How do I prevent rust on dental tools?
A: After cleaning or autoclaving, dry your tools completely and perform passivation every few months to maintain corrosion resistance.


Write a comment
You must be logged in to post a comment.